Making your own gift card holders helps add a special touch when giving a gift card for any occasion. And as a bonus, it's a fun craft that you can make with your little ones, or task older kids to design and decorate themselves.
Before you begin, decide whether you will sew the gift card holder or use an iron and fusible webbing to seal the edges, then choose the appropriate materials.
Custom Felt Gift Card Holder
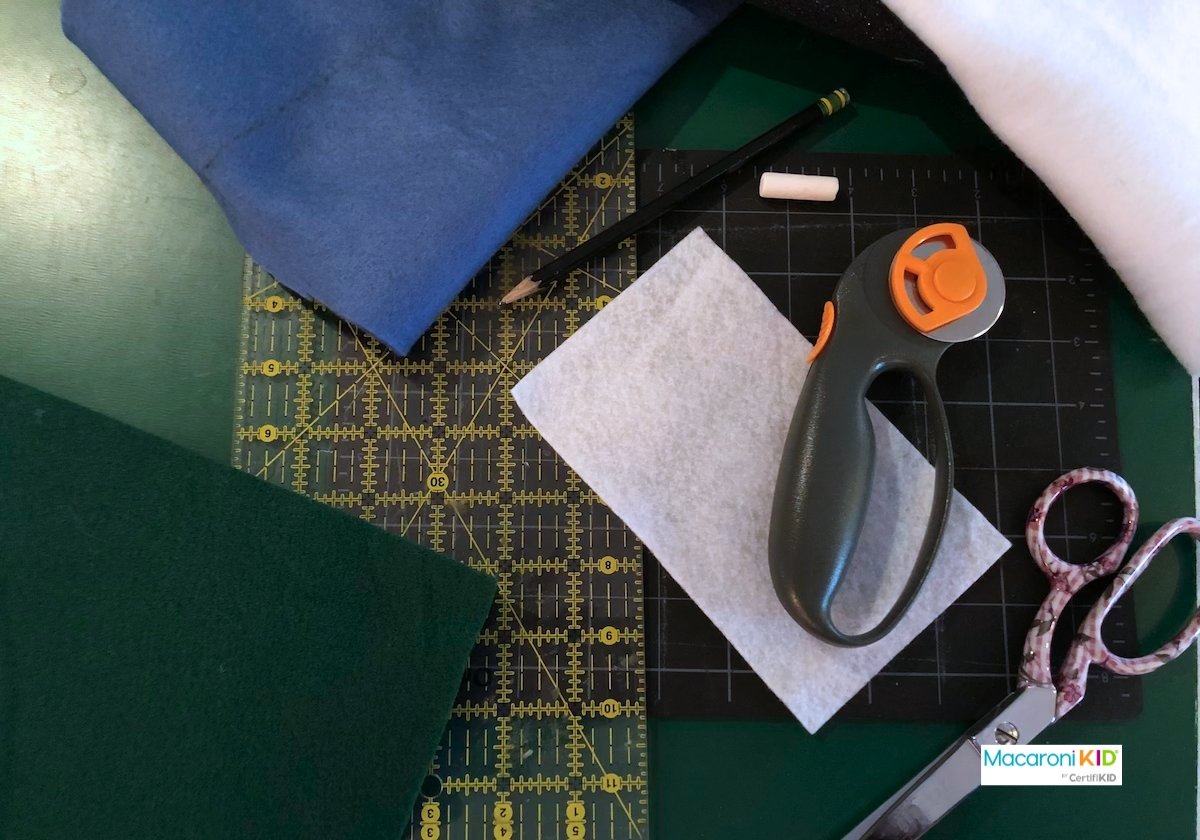
What you need:
- Felt
- Scissors
- Ruler or other straight edge
- Iron
- Fusible webbing strips (no-sew)
- Colored embroidery floss (sew)
- Extra-large needle (sew)
- Embellishments such as plastic gems or beads
- Fabric or craft glue
 |
Directions:
1. For each gift card holder, cut a piece of felt to 6.5 x 4 inches.
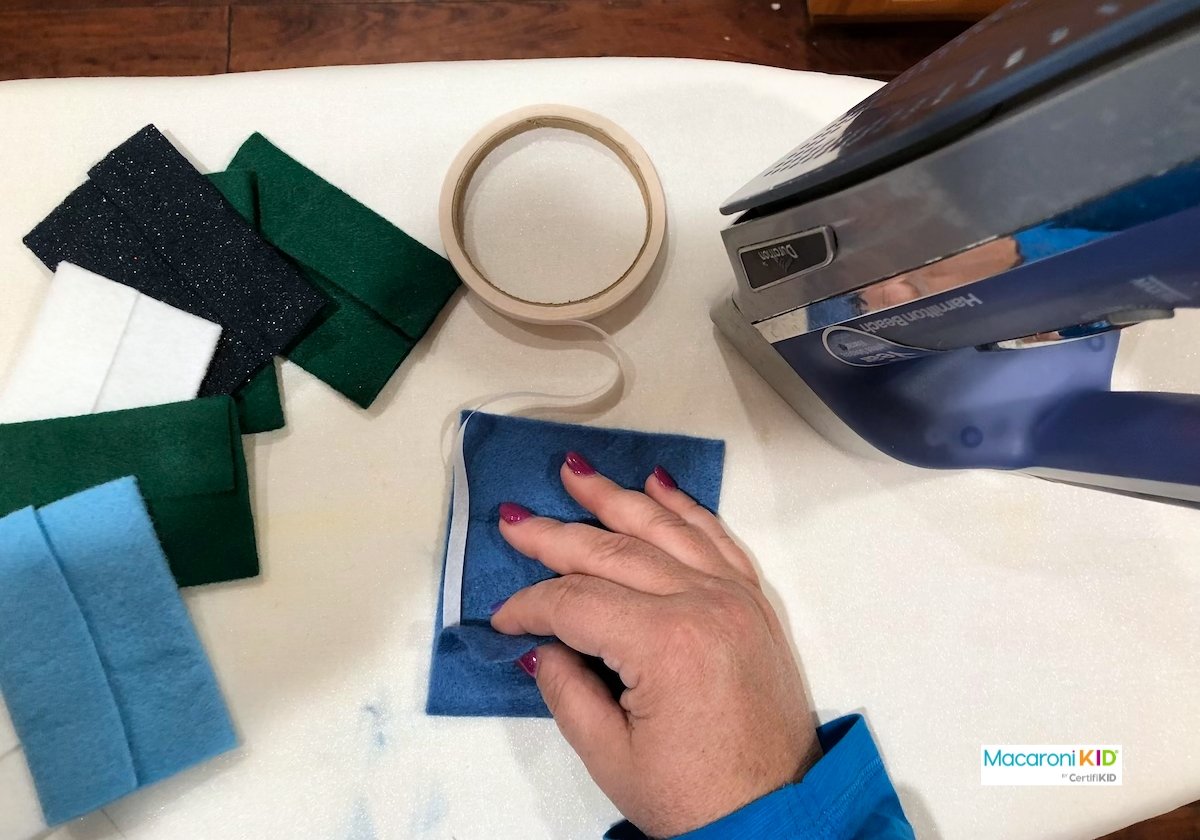
2. Iron the felt to smooth out any wrinkles.
3. Fold each rectangle into a 4 x 2.75 inch pocket with a 1 inch flap. This is just the right size for a standard gift card.
4. Press in the folds neatly with the iron.
5a. No Sew: Use strips of fusible webbing to secure the sides and iron them together.
 |
5b. Sew: Thread the embroidery floss and stitch a blanket stitch from the bottom corner of the folded felt, up the side, across the top of the flap, and down the other side to the fold.
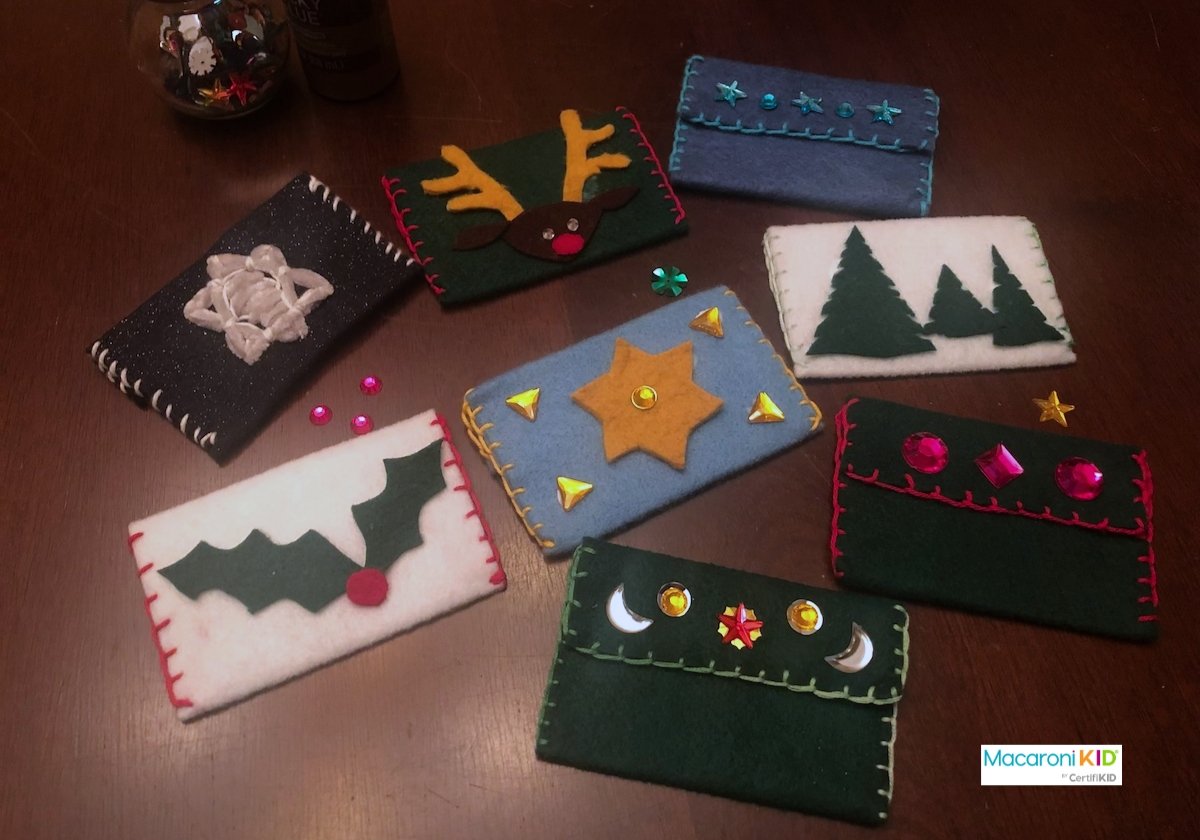
6. Cut scraps of felt into decorative shapes, such as holiday themes or other items the recipient likes. Tiny cookie cutters make excellent templates. You can also cut out felt letters to spell the recipient’s name.
7. Glue felt shapes and embellishments to the gift card holder and allow to dry.
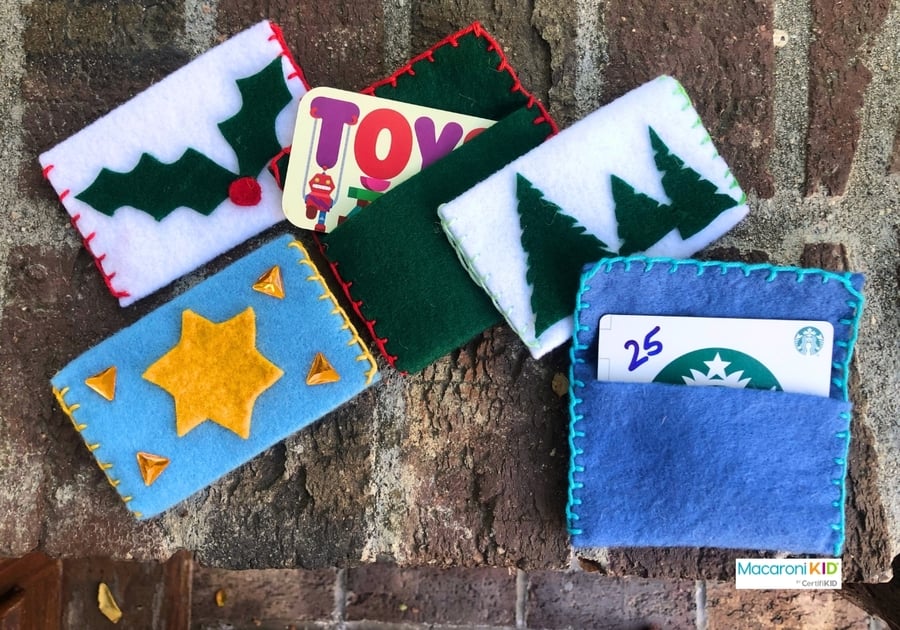
8. Sign your gift card (don’t forget to write in the amount) and insert into the holder.
 |
Kate Finlay Zimmerman is the publisher of Macaroni KID Pasadena, Calif.


